Why I stopped painting furniture

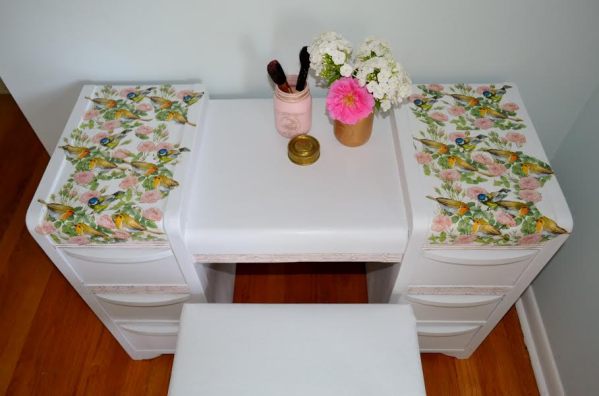
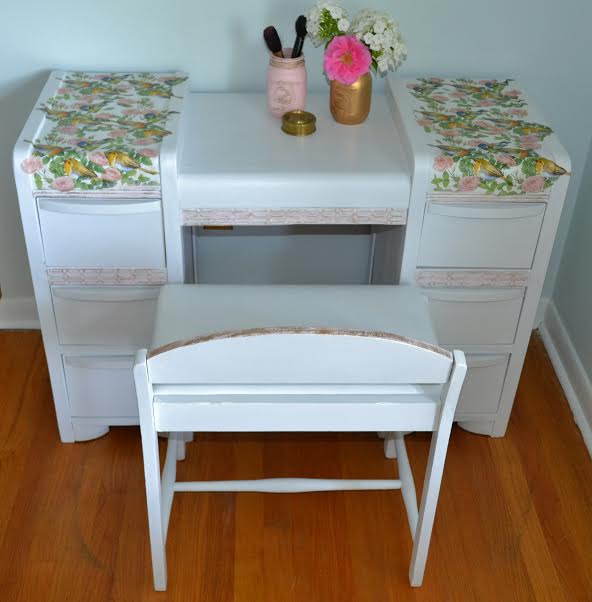
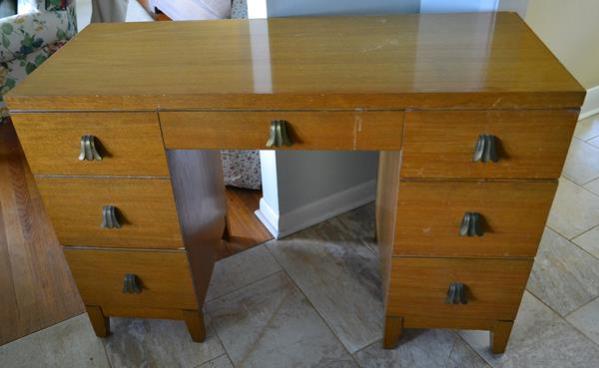
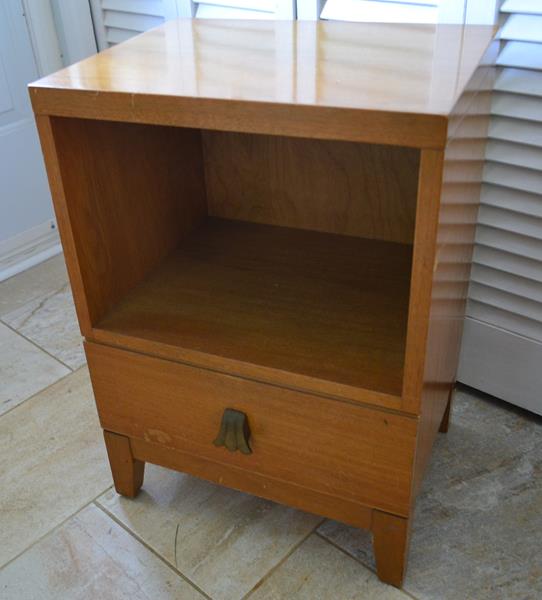
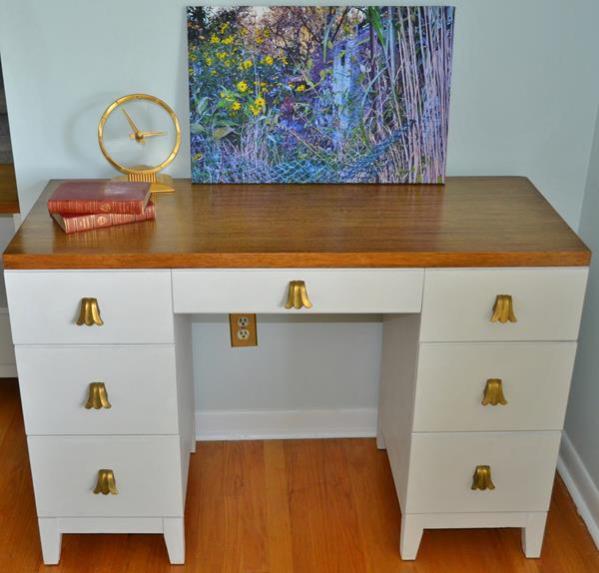
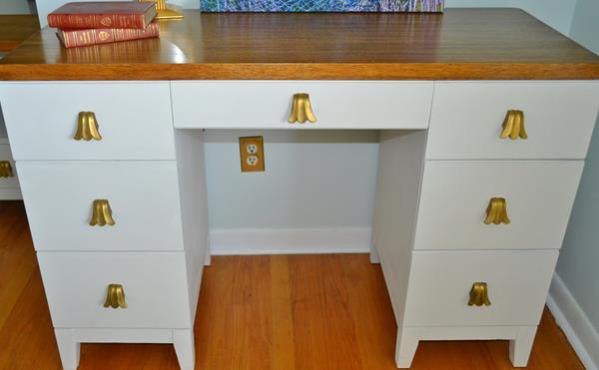
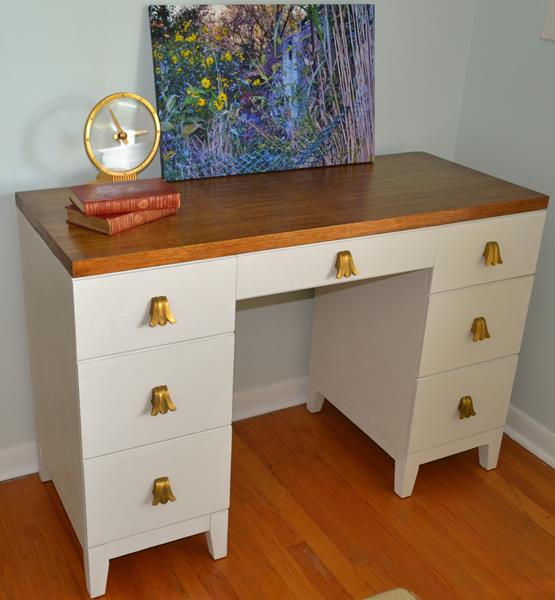
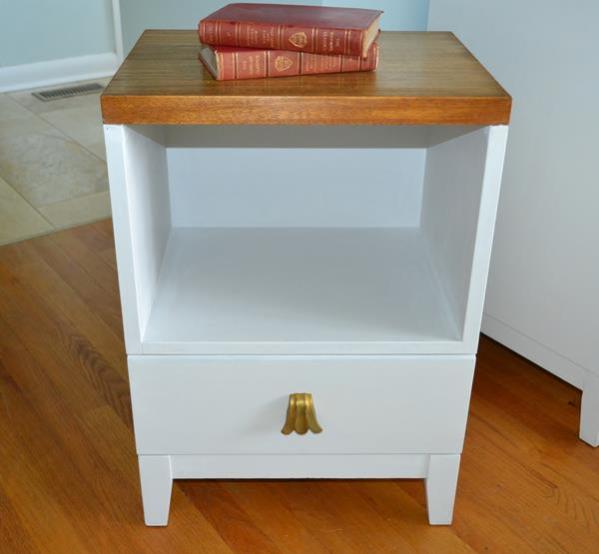
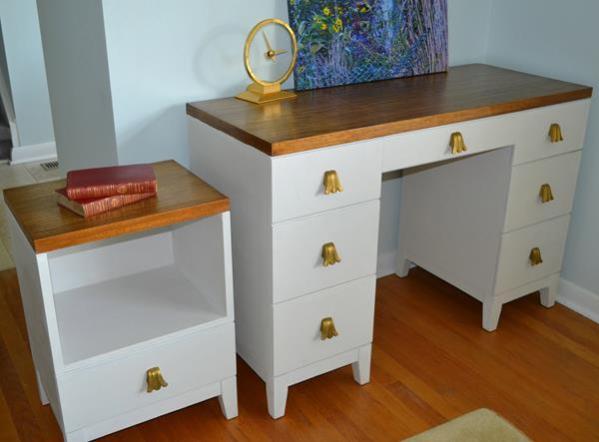
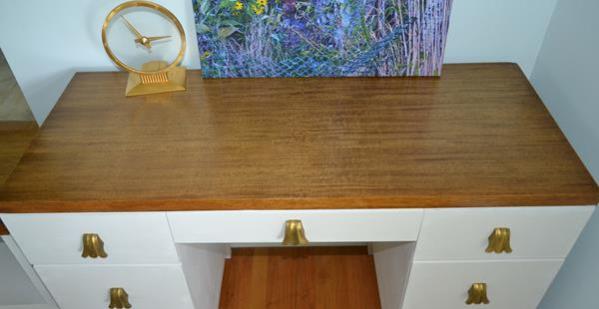
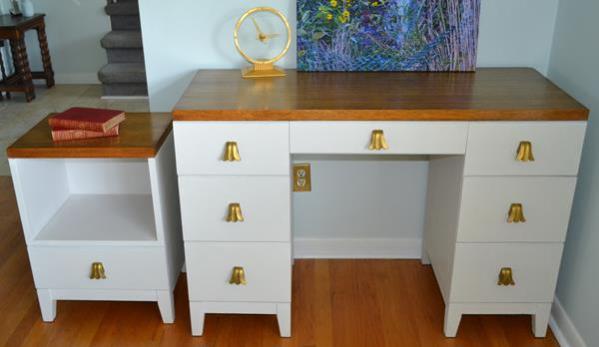
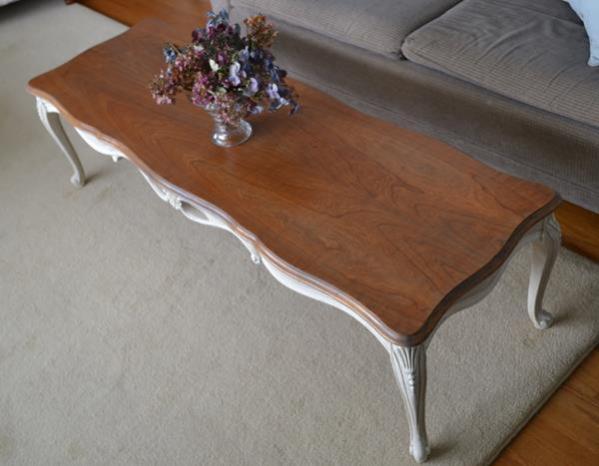
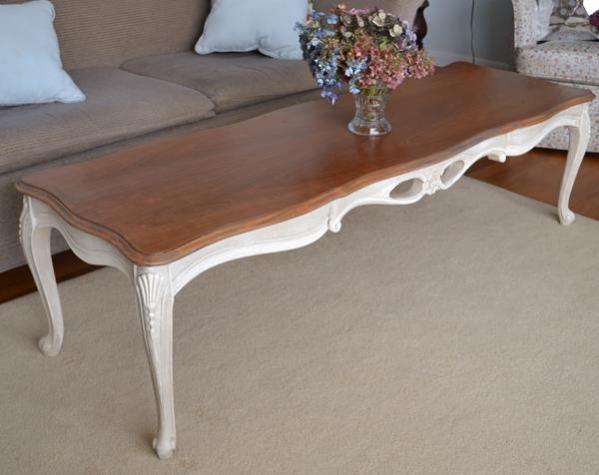
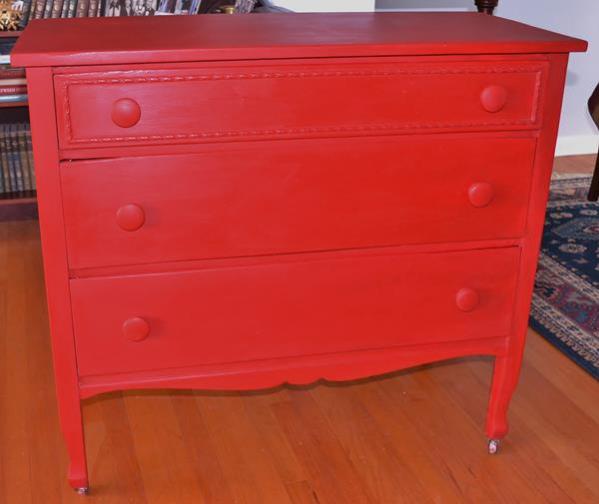
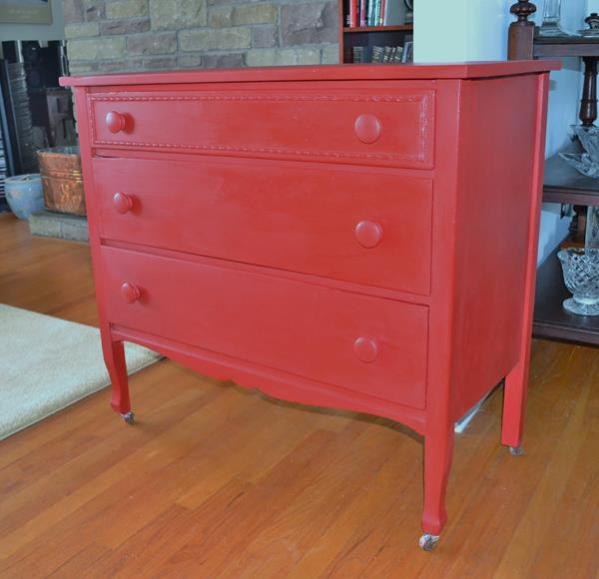
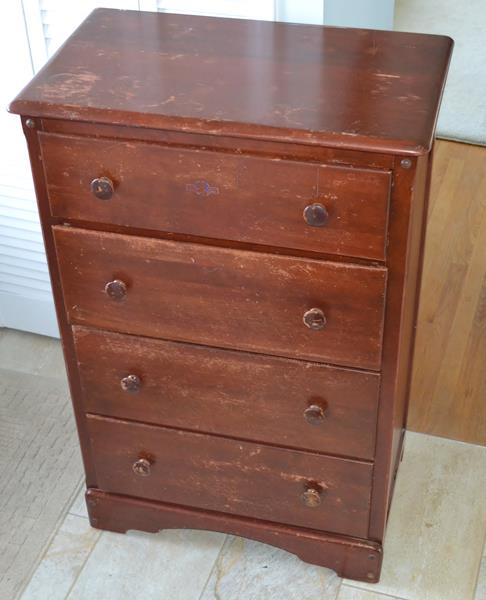
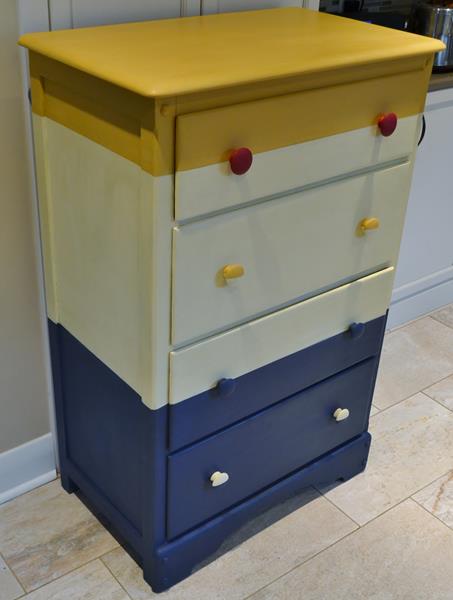
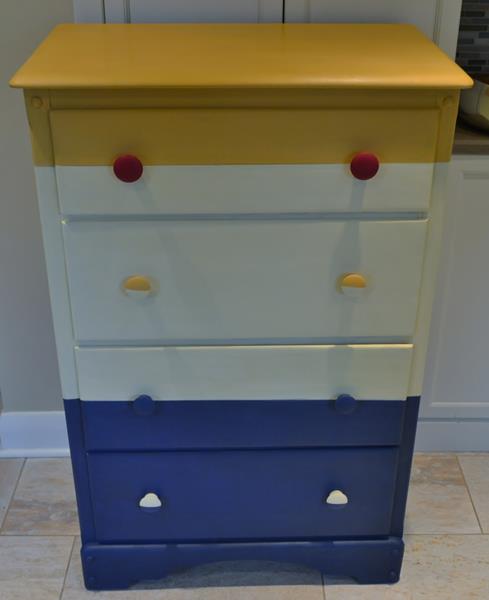
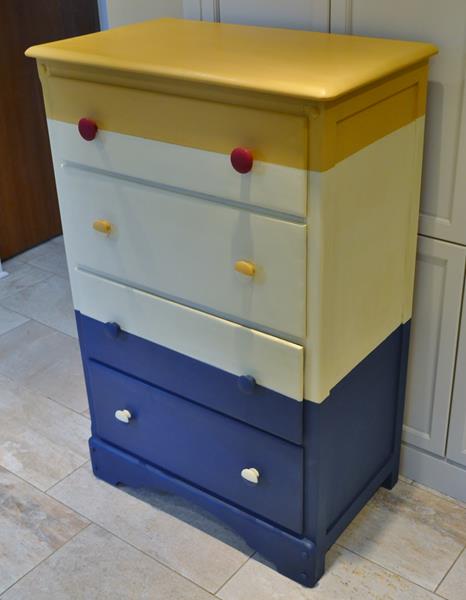
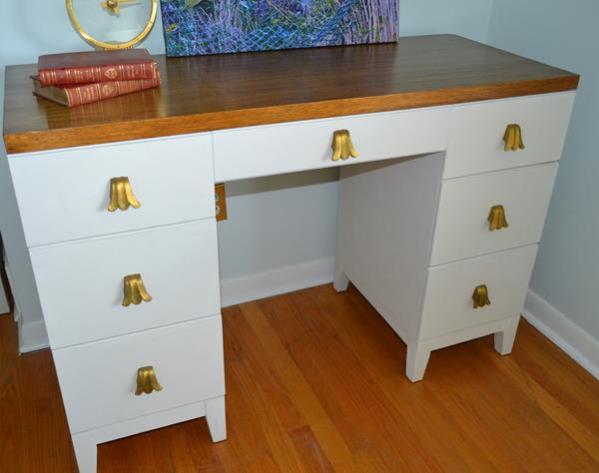
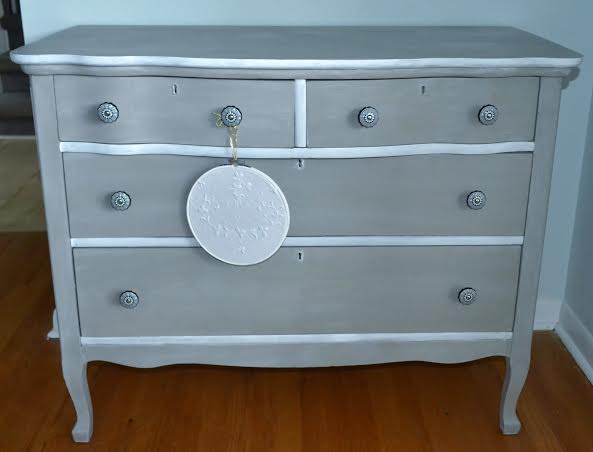
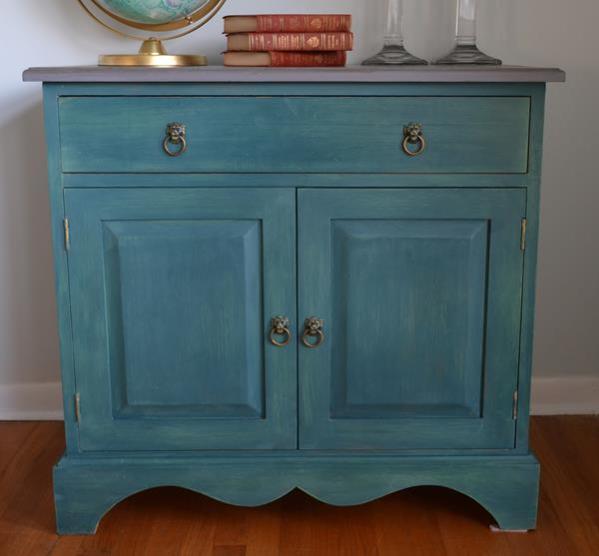
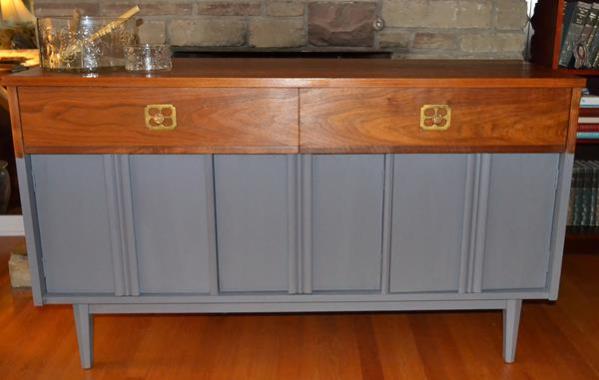
Four years ago, I discovered the joys of Annie Sloan chalk paint.  I had just retired from 36 years of teaching high school and painting furniture filled a huge gap in my life.  I do not have the fine motor skills to be an artist but furniture transformation made me feel like one.  I loved everything about the business, from looking for bargains to paint, choosing a colour or technique, to marketing the piece.  But, the drive has started to wear off.  I don’t enjoy lifting large pieces, I have to paint in my kitchen or dining room and there is an explosion of fellow furniture painters.  I have to credit my stockist, Katrina, from Malenka Originals with the success of her business for this explosion.  She introduced Ottawa to chalk paint and thousands seem to have embraced it.  Many women are doing and loving what I did 4 years ago and I just don’t want to compete any more.  I have painted many beautiful pieces and I know there are some very happy people who bought them.  Here are a few favourites:

mcmdesk4kates-dressercabinet2sideboard1

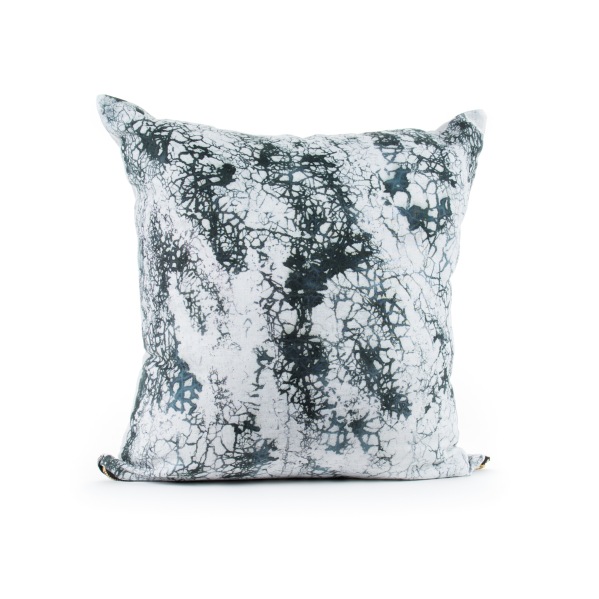
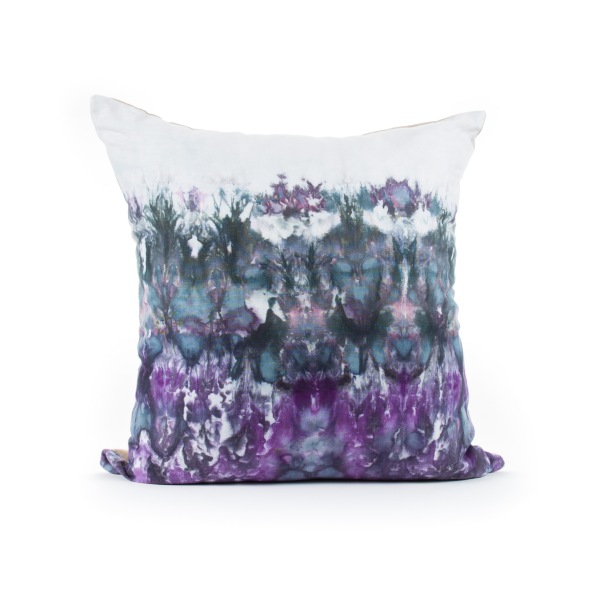
Annie Sloan actually led me to another hobby/obsession-dyeing fabric.  I have become a textile artisan and have taught myself Shibori, Ice-dyeing and Sashiko embroidery.  Here are some examples-the first pillow was done with a flour paste resist and black dye.  The second one is an example of ice-dyeing.  You can find my shop here:   https://uwf-textiles.myshopify.com/

Final Images - 2048 px -4

Final Images - 2048 px -2

http://www.findingsilverpennies.com/2017/06/silver-pennies-sundays-link-party-223.html

http://www.thededicatedhouse.com/2017/06/make-pretty-monday-week-218.html

Chalk Paint and Shibori

pollows1

I love classic Shibori designs.  Shibori is the Japanese art of folding and binding fabric so that it resists dye in places.  You usually see it dyed with indigo.  I decided to try doing it with chalk paint as an experiment.  Annie Sloan shows you how to dye fabric in her book Color Recipes for Painted Furniture.  You can also see examples on her web site  Annie Sloan Inspiration.  Her basic recipe is 20:1 water to paint.  You submerge the fabric for at least 30 minutes, rinse in cool water and hang to dry.  Later you set the colour in the dryer or with a hot iron.  It’s best to use deep colours because they come out much lighter than the paint and have a faded look to them.  With Shibori, it is an absolute must to use a deep colour because you want to see a contrast that is created by the binding.  I started with Napoleonic Blue in the hope that I would get something like indigo but it came out sky blue.  Provence is too pale; it came out a faint aqua.  The reds work well but you will be getting pinks.  Antibes created lime green and Graphite became grey.  I think Aubusson would be good because Annie used that on drapes and maybe Barcelona or Arles.

pillows3


This is  one of the easiest Shibori patterns to create-it’s called Itajime and it is a shape resist pattern.  You fold the fabric accordion style until you get a small square then bind it with wood blocks or any shape and elastics.  I used round disks to create the white circles

pillows4

This one is called Nui-it is thread resist dying.   The fabric is folded in sets of 4 pleats then basted with thread.  The threads are pulled to create gathers then it is dyed.  This was dyed with Burgundy.

pillows5

This tie-dye looking pattern is Kanoko or Kumo.  You pleat and bind the fabric in places to create the circle or bull’s eye effect.  The colour was created by using Emperor’s Silk on pale  yellow fabric.

Finally, this green pillow started out as Shibori but you couldn’t see the pale pattern, there wasn’t enough contrast or perhaps it wasn’t bound tightly enough.  I stenciled over the green with Antibes and Provence.

pillows2

The advantage to using chalk paint instead of dye is that is a lot easier.  You mix it with water and that’s it.  I would recommend letting the fabric sit in the dye bath for longer than 30 minutes-more like an hour.  I also found that you really need to leave some of the paint in the fabric when you are rinsing it out; other wise, you may get very washed out colours.  Heat does set it.  I think you could wash these pillow covers by hand in cold water and not have colour bleeding.  I don’t think the colours are as crisp or saturated as dye but they are pretty.  Dye is a lot cheaper to use, colours come out the way they are supposed to and it is more effective for Shibori.  But you need soda ash, salt and  it can be messy.  Would I use chalk paint again?  Probably, if I could get a deeper blue.

Linking up with:

Home


Decoupage to the Rescue

Three years ago, I wrote a post about waterfall furniture.  It certainly is not my favourite style of vintage furniture and I usually avoid painting it.  My blog post, however, is very popular ( 20,000 views) so I am guessing that there are a lot of people who want to know about its value or history.  You can read it here if you are interested.   This waterfall vanity was given to me by a friend who had bought it rather cheaply, so I  painted it.

waterfall vanity

The veneer on the top was not in great shape.  At first, I tried to patch it but there was just too much peeling so I removed all the veneer in the middle section.  The other top sections looked ok but had thin cracks where the wood had dried out.  Unfortunately, I decided to paint those sections as is, which was a mistake.  The paint made the cracks more noticeable.  I had originally wanted to stencil across the top of this table but I decided that might not be the best course.  S0, rather than start all over, I chose to conceal the cracks with decoupaged napkins.  I had a package of birds and flowers that had a white background which seemed suitable for the feminine look I was going for.

dressing5

I used Mod Podge to apply the pieces then I sealed the top with 3 coats of acrylic varnish.  The table and the matching chair are painted in Annie Sloan Pure White chalk paint mixed with a bit of grey to give it some pigment.  Pure white is a devil to work with so I try to add something to it.  Old White is good addition but I wanted a cooler tone.  I even painted the seat  of the chair  which was covered in brown vinyl.

dressing 2

There was some nice detail on the front of the vanity so I painted it a pale pink to match the roses in the paper and added gold gilding paste on top of that.  I also painted the insides of the drawers in pink.

dressing3

This vanity has a matching mirror but I am not fond of the frameless look which was typical of the era.

dressing 7

The overall effect is totally feminine but why not?  It is a dressing table after all.

dressing 1

dressing 6

Waterfalls are still not my style but this did turn out very well.


Linking up with:

http://piecedpastimes.blogspot.ca/

http://www.findingsilverpennies.com/2016/08/silver-pennies-sundays-link-party-182.html


Retro meets Glam

Furniture produced after the Second World War shows a definite shift from darker heavier woods and colours to those that are light, less bulky and even whimsical.  Heywood Wakefield is credited with bringing this shift in American tastes by introducing a line of blonde furniture that became very popular in the 1950’s.  There is a definite revival of interest in this furniture because it is retro looking and it is very well-made.  You can read about this revival here.

Blonde furniture was usually birch or maple with a golden or pale stain.  The set that I bought is blonde mahogany which was achieved by bleaching the wood before staining it.  It is made by Gibbard, a well-known manufacturer of fine furniture in Canada.  It came with a frameless mirror but that look is too dated for most people.

gibbard desk 1gibbard nighstand

It is mahogany veneer over solid wood.  The original owner had kept a glass top on both pieces and they were in near perfect condition.  The brass knobs are distinctive and original.

I refinished the tops and painted the bodies in Pure White with a bit of French Linen mixed in.  It is still white but has a grey tone.  Pure White has no pigment and needs many coats; by adding some colour to it, you get a lot better coverage.  Because the wood had been bleached originally, it would not take a dark stain so I opted for a chestnut colour which was close to the original but richer in tone.

mcmdesk1A

mcmdesk3

I cleaned the beautiful brass knobs then added some gilding paste to make them brighter.  It makes a great desk or could still be used as a dressing table in a bedroom.

mcmdesk2A

mcmnight stand6

mcmdesk5

mcmdesk top 7

mcmdesk6

mcmdesk4

It definitely has a glam look to it.


Linking up with:

http://www.findingsilverpennies.com/2016/07/silver-pennies-sundays-link-party-176.html

http://www.sadieseasongoods.com/talk-town-27/

The Creative Circle Week 73

http://www.mccallmanor.com/link-party/your-inspired-design-43/

http://piecedpastimes.blogspot.ca/


French Country Style and Country Grey

French country is a much-beloved style and is the inspiration for a lot of furniture updates.  Some of the characteristics of the style are: rustic, lived-in looking furniture; natural woods with low gloss or painted furniture that looks old; soft colours mixed with splashes of bright yellow, blue and lavender; mix and match fabrics and colours especially toile, gingham and florals and stripes.  If you want to read more about the history of classic French  furniture, I wrote about it here.

Annie Sloan’s Country Grey is the perfect colour for achieving this look.  It’s not really grey but beige with grey undertones.  When it is dry-brushed with Old White or had dark wax applied to it , it transforms the furniture into that classic French look.  You can see many examples on this Pinterest page.

This vintage coffee table was given to me.  It is fruitwood and has the lovely carvings and cabriole legs of French furniture.  I stripped the top and opted for a lighter stain.  It is popular to use dark walnut on everything these days but the lighter colour is actually more in keeping with the style and shows the grain nicely.  It has multiple coats of satin poly on it.

fp coffee table 5

I painted the base in Country Grey then dry-brushed Old White on top to highlight the details and give it a more aged look.

fp coffee table1

fp coffee table4

fp coffee table2

fp coffee table3

It’s a lovely large coffee table in an elegant colour.


Linking up with:

http://www.thepainteddrawer.com/2016/01/searching-for-a-pot-of-gold-and-the-link-party.html

http://www.patinaparadise.com/2016/01/fridays-furniture-fix-21.html

http://www.mccallmanor.com/

http://seekinglavenderlane.com/2016/01/the-creative-circle.html

http://www.sadieseasongoods.com/snickerdoodle-sunday-link-party-113/#more-4199

Home

http://charmbraceletdiva.blogspot.ca/2016/01/vintage-charm-party-13.html

Making Broken Beautiful | No. 21 … and a word from the heart


Just for Kids

I recently painted a dresser for a 2-year old named Henry who was changing rooms because of his new little brother, Alfie.  Aren’t those cute names?  Henry’s parents had me paint this dresser for his nursery 2 years ago.  It’s an old farmhouse style  that they wanted in red:

DSC_0002(15)

DSC_0003(7)

They are keeping it which doubles as a change table for baby Alfie and bought a small tallboy for Henry.

meg's dresser

It’s maple and very heavy with solid wood drawers that weigh a ton.  I covered the whole thing with a coat of shellac because I have learned that that reddish stain used before poly finishes bleeds through paint, even latex.  Henry’s mum wanted 3 colours: navy, yellow and cream.  I was influenced by the wonderful furniture painted at Poppyseed Creative Living ( she is very talented) and created a colour-block effect.

henry's dresser2

The colours are Annie Sloan’s Arles, Cream and Napoleonic Blue.  I copied the colour-block on a few of the knobs and added the larger red knobs painted in Burgundy for an extra punch.  The hardest part was getting the lines straight.  I started with the drawers in the dresser and taped through the middle of the drawer where the holes are.  Then I lined up the lines on the side.  This required a measuring tape and marking with a pencil.  I do not have a straight eye, so I will tape on a slant without markings. When using light and dark colours, I would recommend painting the light one first then the dark overtop.  With this design there is a fair amount of overlapping.

henry's dresser1

henry's dresser 3

In retrospect, I might have mixed the Arles with English Yellow to get less gold but I am happy with the result.  It has a wax finish which I like the look of better than poly and which is durable after it is cured, especially on something like a dresser.  I tend to use poly on table or desk surfaces but have found that wax  has worn well on all the pieces that are in my house.


Linking up with:

http://www.patinaparadise.com/2015/12/fridays-furniture-fix-20.html

Making Broken Beautiful | No. 18

http://www.mccallmanor.com/link-party/your-inspired-design-16/

http://piecedpastimes.blogspot.ca/

http://www.sadieseasongoods.com/snickerdoodle-sunday-link-party-112-end-of-year-announcement/

http://www.findingsilverpennies.com/2015/12/silver-pennies-sundays-link-party-and-features-149.html/

http://linda-coastalcharm.blogspot.ca/2015/12/show-and-share-no-293.html

http://www.elizabethandcovintage.com/