Creating Texture with Dry Brushing

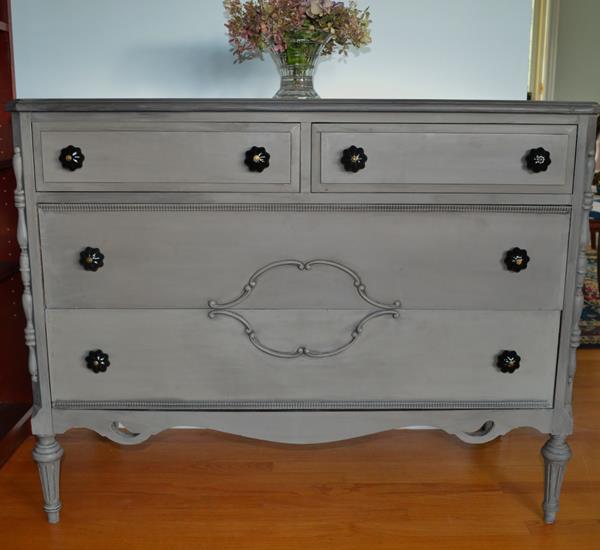
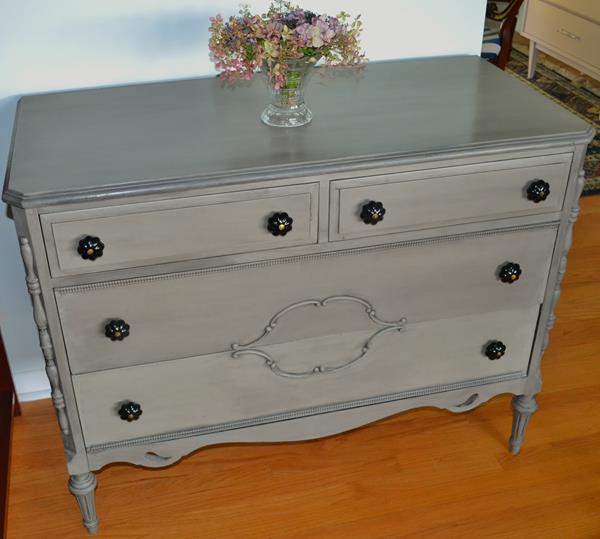
This antique dresser had several coats of paint on it when I bought it.  Its last coat was actually a very pretty turquoise enamel that was chipping everywhere.  If I had had some AS Provence on hand, I probably would have painted it with that colour.  Instead I chose more neutral colours.  After a lot of sanding to even out the chipping, I painted it in Old Ochre and used a Graphite wash on the top and on the drawers.  I wanted to use black knobs so the Graphite seemed a good choice.DSC_0002(42)

After applying the wash, I wasn’t completely happy with the result probably because the dresser has a lot of flat surfaces and not many places for the wash to settle into.  So, I dry brushed over it a few times.  Dry brushing adds texture and layers of colour but you have to be very stingy with the paint.  First, you start with a dry brush ( surprise, surprise) but this is not something I have actually done in the past.  You lightly dip the brush into the paint then brush most of it off.  Then you start to feather the paint onto the surface; it’s amazing how much paint is actually on the brush.  I did about 2 more layers of the Graphite then 2 layers of the Old Ochre on top of that.  The result was very effective and gives the dresser an aged look without dark wax or distressing.  I painted the inside of the drawers in Burgundy because they had old paint splatters in them.  You can’t see the colour very well in the photos but they contrast beautifully with the outside.

DSC_0002(43)DSC_0003(35)

DSC_0001(36)DSC_0003(34)DSC_0004(37)DSC_0005(27)

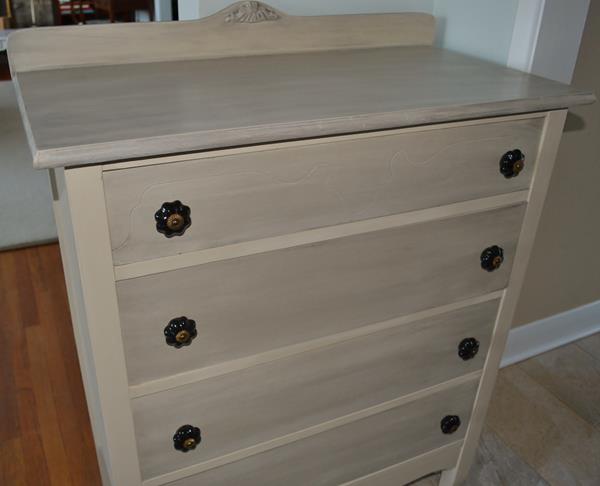
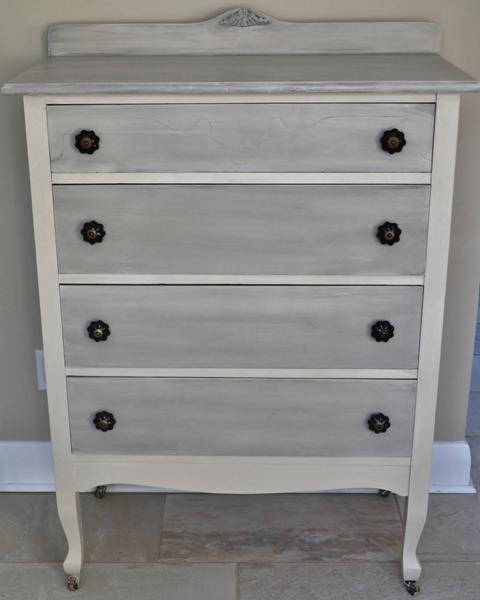
In general, you shouldn’t paint the sides of drawers because if they are sticky it will add another layer to the drawer and the paint may scratch.  However, these drawers are on the loose side, so I painted the sides as well as the inside.

http://www.lifeonlakeshoredrive.com/

Home


http://linda-coastalcharm.blogspot.ca/2015/03/show-and-share-no251.html
http://www.elizabethandcovintage.com/
http://missmustardseed.com/2015/03/furniture-feature-friday-favorites-link-party-57/

Stretching a can of chalk paint

A lot has been written about homemade chalk paint and about the high cost of brands like Annie Sloan. At first glance, $42 Canadian does seem to be an exorbitant price for a quart of paint. Chalk paint does have obvious advantages over latex or homemade chalk paint which is latex with additives, but I am going to address only the cost aspect here. I really haven’t found chalk paint to be expensive if you are painting more than one item. I have stretched one can of Annie Sloan French Linen to paint 4 items, which works out to be about $11 an item. You probably could buy Oops paint more cheaply but you are stuck with the colour whatever it is, you have to make chalk paint out of it and you have to sand it a lot to get a smooth finish. So, one can of French Linen painted 3 coats on this  cedar chest with Old Ochre trim:chest

was used on the trim of this cedar chest:DSC_0010(7)

painted this end table ( 3 coats again)DSC_0007(11)

was used on this tray:DSC_0005(11)

and finally was used to paint this antique dresser( 3 coats again).  I put a Graphite wash all over to enhance the trim and match the glass knobs:

DSC_0005(13)DSC_0006(14)DSC_0012(5)DSC_0010(9)

I actually have some paint left over-enough to paint another tray or to mix with white to make a pale grey.

http://elizabethandco.blogspot.ca/
http://sweethaute.blogspot.ca/
http://www.glitterglueandpaint.com/project-pin-41/
http://www.thegritsblog.com/
http://www.redouxinteriors.com/2014/08/best-diy-link-party-at-the-handmade-hangout-week-11/
http://missmustardseed.com/2014/08/furniture-feature-friday-favorites-link-party-36/
http://www.lizmarieblog.com/2014/08/inspire-please-linky-party-23/
http://www.lifeonlakeshoredrive.com/
http://www.findingsilverpennies.com/2014/08/silver-pennies-sundays-link-party-features-83.html
http://www.flamingotoes.com/2014/08/think-pink-sunday-180/
http://www.thededicatedhouse.com/#