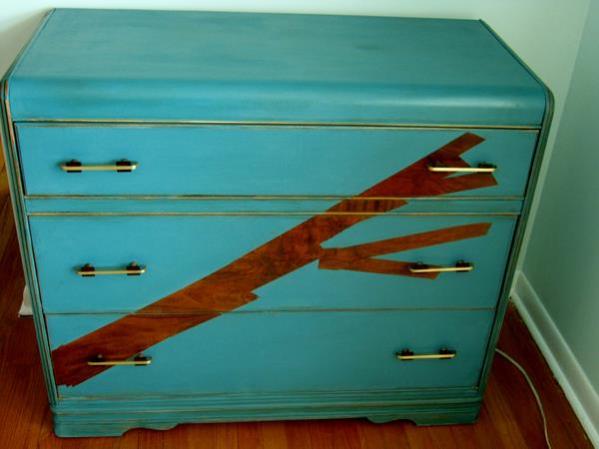


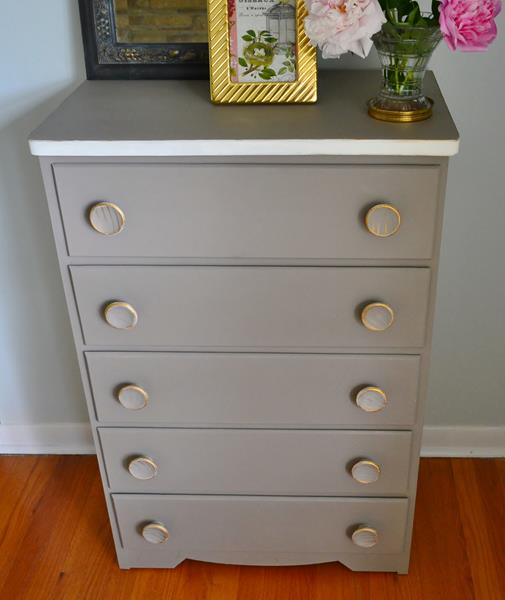
These are two waterfall dressers that I have recently painted. The term Waterfall is given to a style of furniture produced from the 1920’s through the 40’s. The shape of the pieces has a rounded horizontal edge usually with ridges that resemble a waterfall. The wood has a rich warm look and the handles are Art Deco in design, often a combination of Bakelite and brass. These are good examples:
![CIMG3084[1]](https://upwithfurniture.wordpress.com/wp-content/uploads/2013/03/cimg30841.jpg?w=232&h=300)

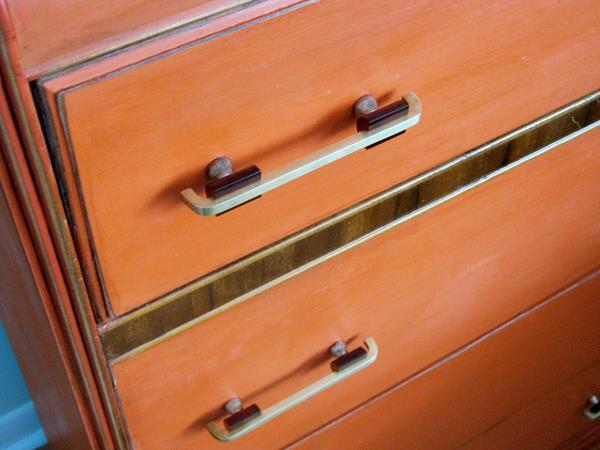
You can see the rounded waterfall edge, the great handles and the book matched veneer on the drawers. The veneer was usually stained mahogany and had a spray shellac finish that was glossy but vulnerable to water and perfume marks. There is a lovely waterfall used as a bathroom vanity from Houzz.com but it must have had a urethane coating put on it because of the water. You can see it here.
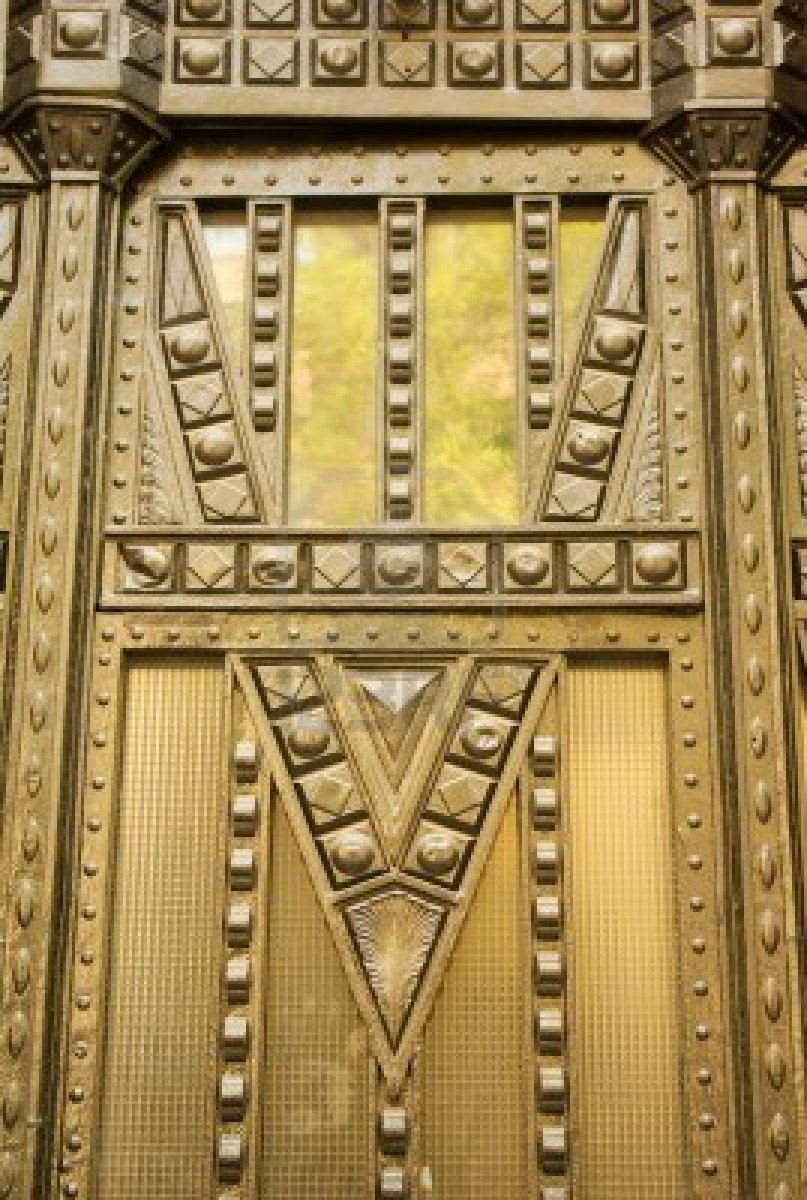
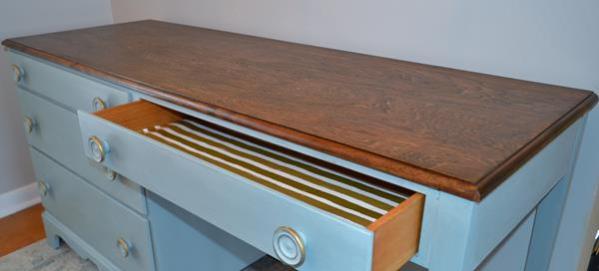
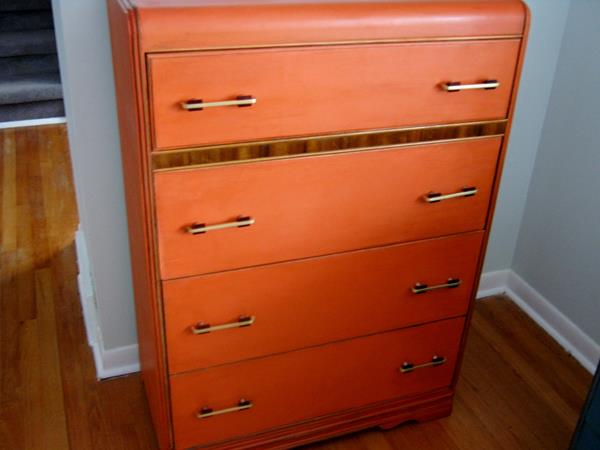
A lot of people mistakenly believe that because of the style and the shiny, interesting wood pattern that waterfall dressers are fine furniture and valuable but except for some that were initially made as more expensive pieces, waterfalls were actually mass-produced with cheaper materials. A closer look will show that the frame is plywood and that the drawers, though heavy and dovetailed are also plywood. Plywood was a new material in the 1920’s and it allowed furniture makers to create curves in wood that beforehand were only the work of fine craftsmen. Waterfall funiture has all the hallmarks of the Art Deco movement which began in France in the early 20th century but really gained popularity in the 1920’s. Its emphasis was on streamlined symmetrical shapes and geometric design; it was influenced by popular culture such as the discovery of King Tut’s tomb which created a craze for all things Egyptian and cubism in art. The materials used were modern such as aluminum, stainless steel and Bakelite. Many of the skyscrapers built in New York during this time period have Art Deco motifs such as the Chrysler building which has a pryamid shaped roof and a tomb-like lobby. These pictures are good examples of Art Deco design:


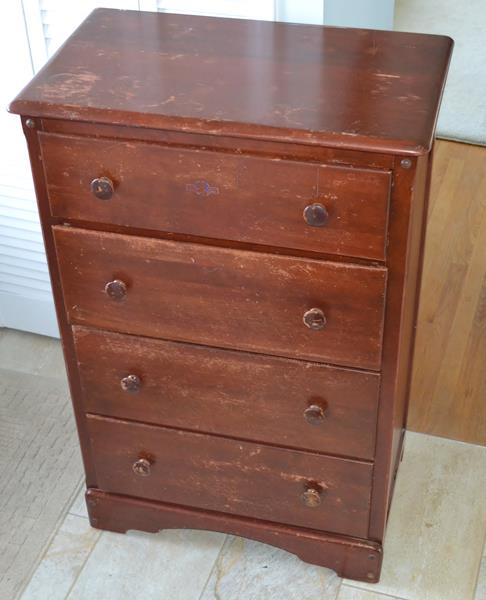
You probably have seen one of these waterfall dressers in your grandmother’s or your parents’ house; we had a vanity that broke into two end tables in our basement when I was growing up. According to Jitterbuzz.com, waterfalls were marketed to newlyweds during the depression because most young people ended up staying in their parents’ house so all they could afford was a bedroom suite. These sold for $19.99-39.99 and contained multiple pieces. The two dressers that I painted were manufactured in the 1930’s by Krug Bros. , a well-known furniture maker from Bruce county Ontario. There was nothing special about the design of the wood but they do have wonderful solid brass and Bakelite handles. Bakelite is an early form of plastic and is highly collectible today especially in jewelry. I bought the dressers for the handles and should have checked the veneer more closely as some of it was very warped. I foolishly thought that I could strip off the veneer that was bad on one of the drawers when what I should have done was glue it and weigh it down. Stripping the veneer took as long as painting and waxing the whole piece. There is no easy way to do it- you heat up the glue by pressing an iron ( one that you will throw out) against the wood then you start lifting it with a putty knife. The problem is that it doesn’t come off in strips and you end up chipping away at it for a long time. And I had to do it in front of an open window ( in the middle of winter ) because there were fumes from the shellac.
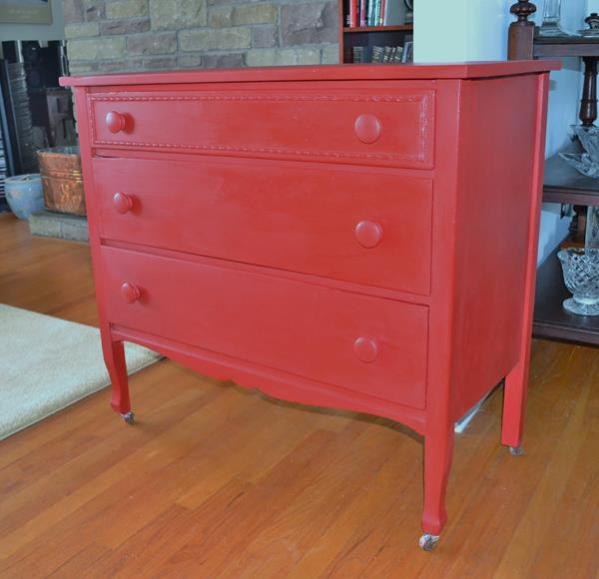
I painted the two dressers in very bold colours. I had seen a few orange ones on the internet that I liked and I knew the colour would compliment the handles. I mixed some Emperor’s silk into the Barcelona orange to get the burnt orange colour. As for the peacock blue one, I was inspired by Martha Leone’s waterfall that you can see here. In her post, she explains how she was influenced by Art Deco in her choice of design. I decided to create a diagonal free form design because I have no drawing ability. The peacock blue was a mixture of Napoleonic blue, Antibes and Florence. I just like the colour and I think the finished product is very attractive and easily my favourite piece that I have painted so far. Both dressers remind me of luggage from the 1950’s which had the rounded edges that were so popular in the design of that era.
Thank you for visiting this blog post. It continues to bring in daily visitors and I hope that I have given you some background knowledge about waterfall furniture.
Please drop by my newest venture: UWF Textiles
Linking to:iv align=”center”>

 ” title=”shades of AMBER”>


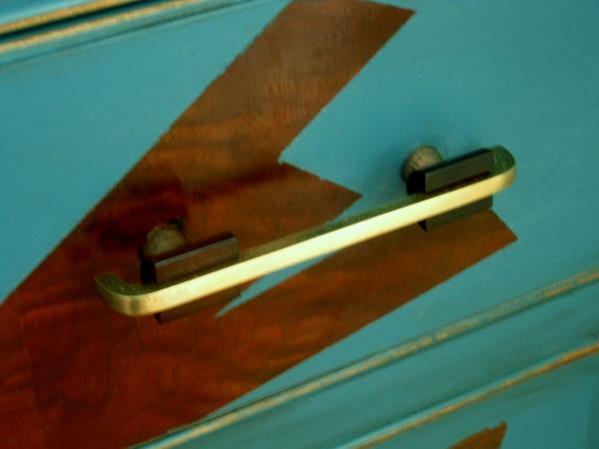
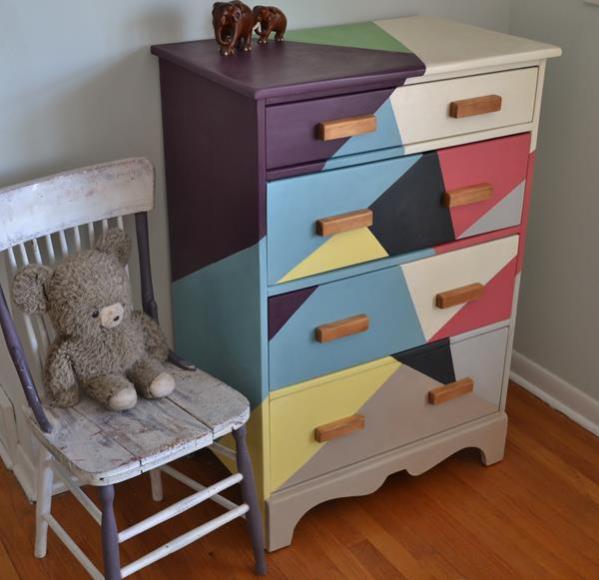
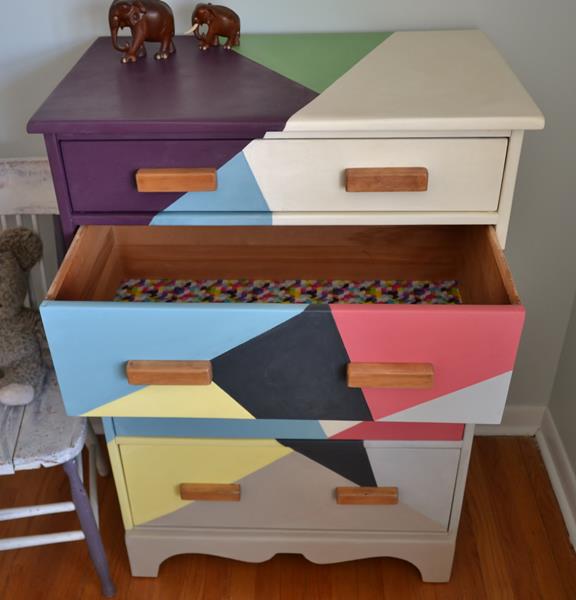
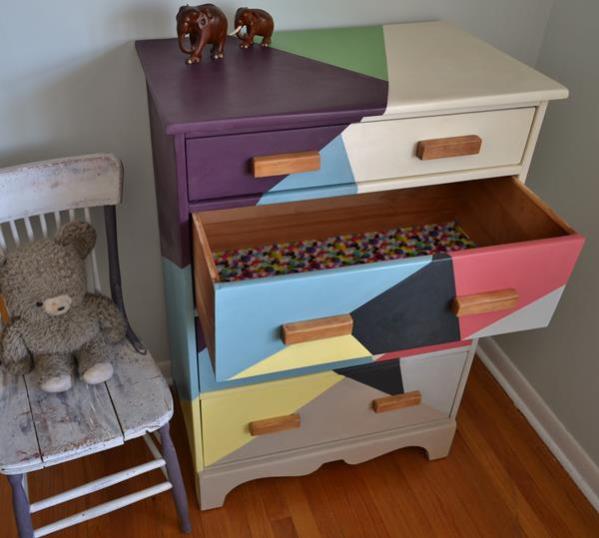
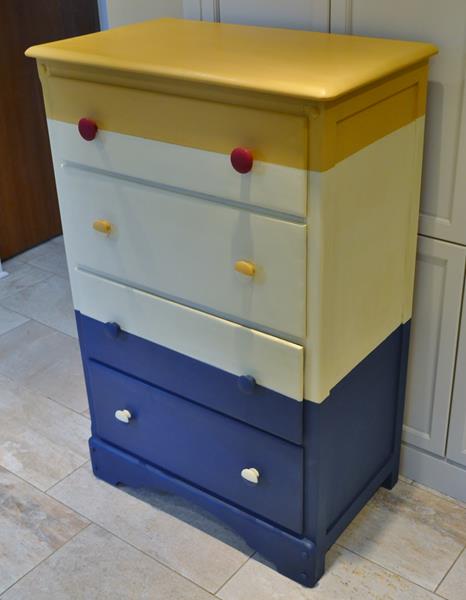
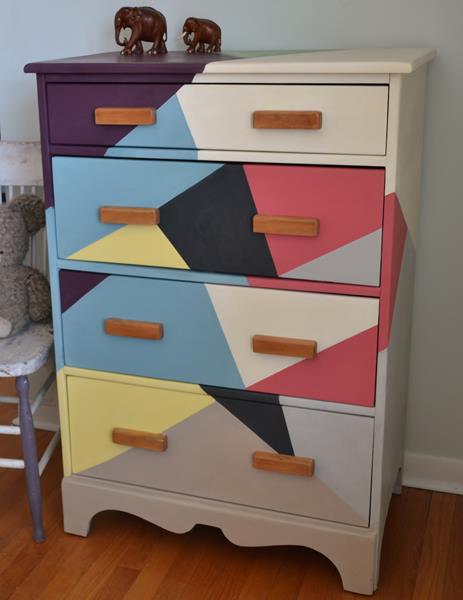 I bought this vintage maple dresser knowing that I wanted to try something like this zig-zag pattern on it. The dresser is probably about 50 years old, solid maple, even the drawers, and not very big. Its size makes it perfect for a child’s room. I have seen dressers painted like this online and wanted to give it a try.
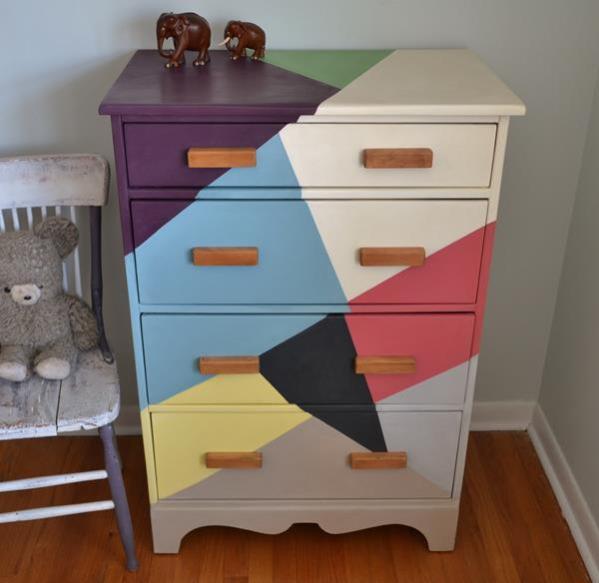


![CIMG3084[1]](https://upwithfurniture.wordpress.com/wp-content/uploads/2013/03/cimg30841.jpg)